

Why You’ll Love This Cortadillo Mexican Pink Cake Recipe
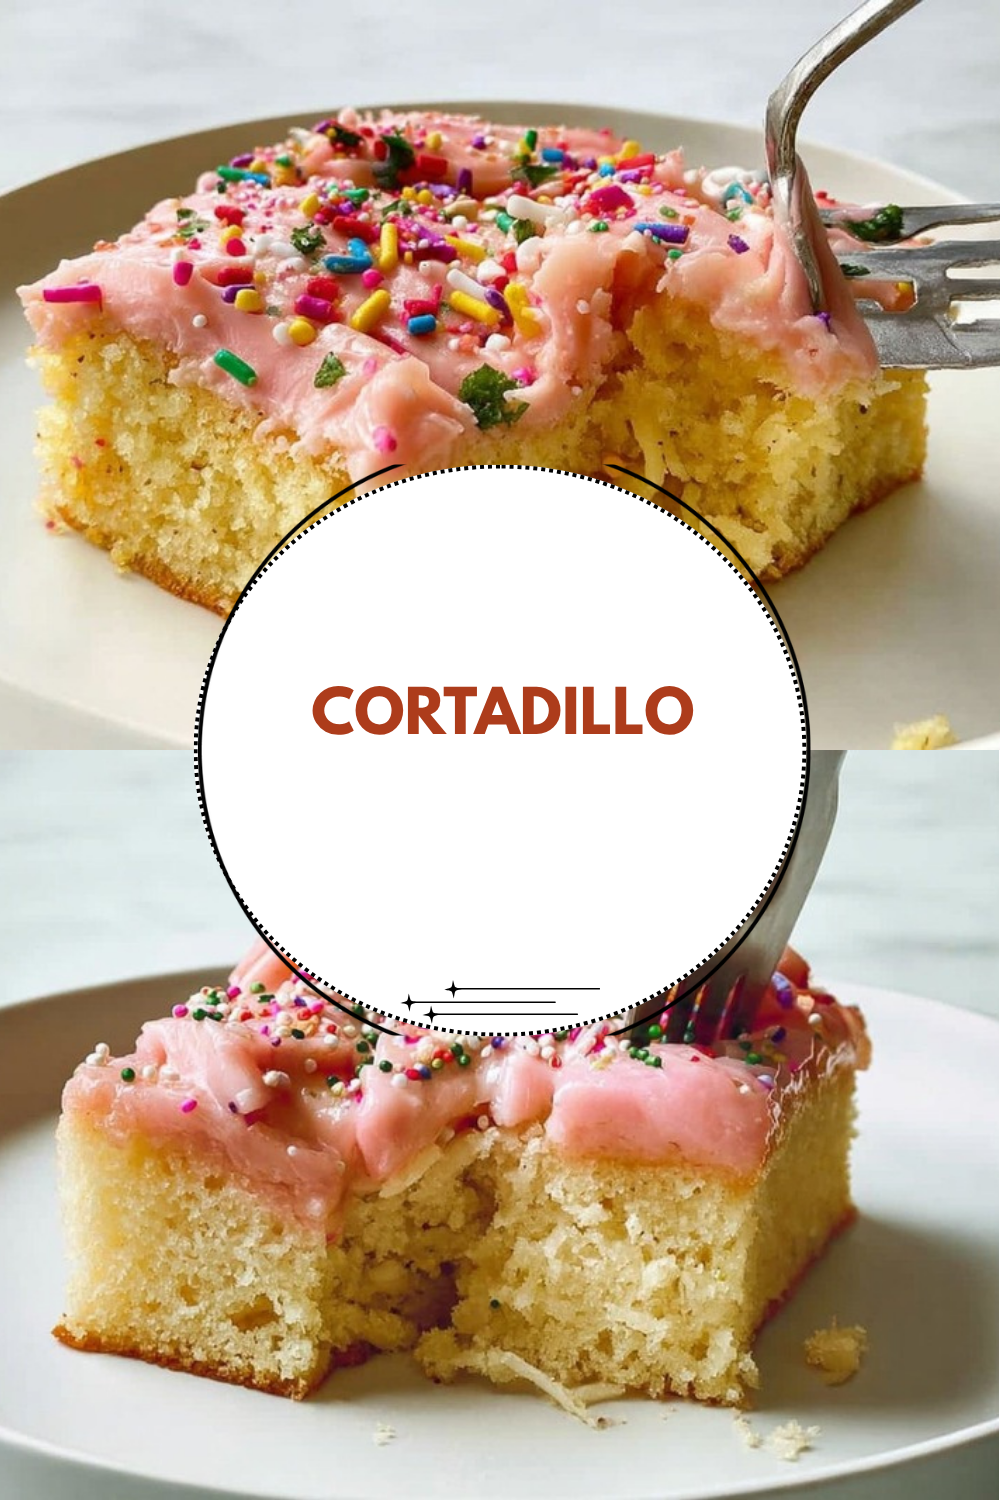
Hola, felíz Friday! If you have a soft spot for nostalgic bakes that feel playful, cozy, and just a little fancy, Cortadillo is going to win you over fast. This Mexican pink cake brings that tender vanilla crumb together with a fluffy neon pink buttercream, then finishes with cheerful sprinkles that make every slice feel party-ready.
This is the kind of cake that works for birthdays, potlucks, after-school treats, or a weekend baking project when you want something sweet, simple, and full of charm.
- Easy to make: The batter comes together with basic pantry ingredients, and the whole cake bakes in a 9×13-inch pan. That means less fuss, fewer dishes, and a dessert that feels doable even on a busy day.
- Comforting and satisfying: Butter, eggs, vanilla, and buttermilk create a soft, moist crumb with a classic homemade taste that feels rich without being heavy.
- Flexible for celebrations: Cortadillo is easy to dress up for birthdays, school events, holiday tables, or casual family dinners. You can keep it traditional with clear vanilla or have fun with the bright pink frosting.
- Distinctive flavor and texture: The gentle vanilla cake, tangy buttermilk, and sweet buttercream create a bakery-style bite that stands out from everyday sheet cakes.
If you enjoy simple dessert ideas like this classic white cake recipe, you will love how this one brings a festive Mexican-inspired look with very little extra work.
Jump to:
- Why You’ll Love This Cortadillo Mexican Pink Cake Recipe
- Ingredients for Cortadillo
- For the cake
- For the buttercream
- How to Prepare the Perfect Cortadillo: Step-by-Step Guide
- First Step: Mix the dry ingredients
- Second Step: Cream the butter and sugar
- Third Step: Add the eggs and vanilla
- Fourth Step: Finish the batter
- Fifth Step: Bake the cake
- Sixth Step: Cool completely
- Seventh Step: Make the buttercream
- Eighth Step: Tint and frost
- Ninth Step: Chill and slice
- Dietary Substitutions to Customize Your Cortadillo
- Protein and Main Component Alternatives
- Vegetable, Sauce, and Seasoning Modifications
- Mastering Cortadillo: Advanced Tips and Variations
- Pro cooking techniques
- Flavor variations
- Presentation tips
- Make-ahead options
- How to Store Cortadillo: Best Practices
- FAQs: Frequently Asked Questions About Cortadillo
- Cortadillo
- Ingredients
- Instructions
- Last Step:
- Notes
- Nutrition
- Did you make this recipe?
Ingredients for Cortadillo
For the cake
- 2 1/2 cups all-purpose flour
- 2 1/2 teaspoons baking powder
- 1/2 teaspoon salt
- 3/4 cup unsalted butter at room temperature
- 1 3/4 cups white granulated sugar
- 3 large eggs
- 1 1/2 teaspoons vanilla extract
- 1 1/3 cups buttermilk
For the buttercream
- 1 cup unsalted butter at room temperature
- 1 teaspoon vanilla extract
- 1/2 teaspoon kosher salt
- 4 cups powdered sugar, sifted
- 1/4 cup heavy cream
- Neon pink food coloring
- Sprinkles
How to Prepare the Perfect Cortadillo: Step-by-Step Guide
Before you begin, preheat your oven to 350°F (175°C). Grease a 9×13-inch baking pan and line it with parchment if you want easy lifting later. This cake moves quickly once the batter is mixed, so it helps to have everything measured and ready.
First Step: Mix the dry ingredients
In a medium bowl, whisk together the flour, baking powder, and salt. This helps the leavening spread evenly through the batter, which gives the cake a lighter texture. Set the bowl aside while you work on the wet ingredients.
Second Step: Cream the butter and sugar
In a large mixing bowl, beat the 3/4 cup room-temperature butter with the granulated sugar until the mixture looks light and fluffy. This step usually takes about 2 to 3 minutes with a hand mixer or stand mixer. Good creaming adds air, which helps the cake bake up soft and tender.
Third Step: Add the eggs and vanilla
Beat in the vanilla extract, then add the eggs one at a time. Mix well after each egg so the batter stays smooth. If the mixture looks slightly curdled for a moment, do not worry. It usually comes back together once the dry ingredients and buttermilk are added.
Fourth Step: Finish the batter
Add the flour mixture and buttermilk to the bowl in alternating additions, beginning and ending with the dry ingredients. This method keeps the batter silky and helps avoid overmixing. Stir just until you no longer see streaks of flour, since too much mixing can make the cake dense.
Fifth Step: Bake the cake
Pour the batter into the prepared pan and smooth the top with a spatula. Bake for 25 to 30 minutes, or until the top is golden and a toothpick inserted in the center comes out clean. In most ovens, the cake is done when it springs back lightly when touched in the middle.
If you enjoy learning why buttermilk gives cakes such a tender crumb, this helpful read on why buttermilk is such a smart baking ingredient is worth a look.
Sixth Step: Cool completely
Set the pan on a wire rack and let the cake cool all the way before frosting. This part matters. If the cake is warm, the buttercream will melt and slide around instead of sitting neatly on top. A fully cooled cake also makes for cleaner slices.
Seventh Step: Make the buttercream
In a clean bowl, cream the 1 cup of butter with the vanilla and kosher salt until smooth. Gradually add the sifted powdered sugar, mixing on low at first so it does not fly everywhere. Once the sugar is mostly incorporated, pour in the heavy cream and beat until the frosting looks fluffy and spreadable.
Eighth Step: Tint and frost
Add the neon pink food coloring a little at a time until you reach the shade you want. The recipe works well with about 20 drops of liquid coloring, but you can adjust it or use a few drops of gel color for a stronger pink. Spread the buttercream over the cooled cake in an even layer, then finish with sprinkles for that classic cortadillo look.
Ninth Step: Chill and slice
Place the frosted cake in the refrigerator for 30 to 45 minutes. Chilling firms up the buttercream and gives the flavors a little time to settle. Once set, cut the cake into squares or rectangles and serve.
| Step | What to Do | Time |
|---|---|---|
| Prep pan and oven | Heat oven to 350°F and prepare a 9×13-inch pan | 5 minutes |
| Mix batter | Whisk dry ingredients, cream butter and sugar, add eggs, vanilla, buttermilk | 15 minutes |
| Bake | Bake until golden and toothpick-clean | 25 to 30 minutes |
| Cool and frost | Cool completely, make buttercream, tint pink, frost, add sprinkles | 20 to 30 minutes |
| Chill | Refrigerate to set the frosting | 30 to 45 minutes |
Preparation time: About 1 hour total, not counting chilling.
Yield: Makes one 9×13-inch cake. Calories were not specified.

Dietary Substitutions to Customize Your Cortadillo
Protein and Main Component Alternatives
Even though this is a dessert cake, you can still make a few smart swaps based on what you have on hand or what your family needs. If you want a slightly lighter crumb, you can replace part of the all-purpose flour with a cup-for-cup baking blend, though the texture may change a bit. For a dairy-free version, use plant-based butter and a rich non-dairy milk mixed with a little lemon juice or vinegar in place of buttermilk.
Vegetable, Sauce, and Seasoning Modifications
Cortadillo is usually sweet, simple, and pink, but you can still play with the flavor. Clear vanilla keeps the cake looking traditional, while regular vanilla gives a warmer, deeper taste. For the frosting, gel coloring gives a bold pink with just a few drops, and you can swap the sprinkles for a softer finish if you want a cleaner look. A non-traditional variation is to add raisins to the batter for a little chewy sweetness.
If you like turning classic desserts into fun tray bakes, you may also enjoy this strawberry shortcake sheet cake for another easy crowd-pleaser.
Mastering Cortadillo: Advanced Tips and Variations
Pro cooking techniques
For the softest crumb, make sure your butter is truly at room temperature before you start. Cold butter will not cream well, and melted butter can make the cake heavy. Sift the powdered sugar so your buttercream turns out smooth and fluffy instead of grainy. Also, stop mixing the batter as soon as the flour disappears. That small habit makes a big difference in texture.
Flavor variations
Traditional cortadillo usually keeps the flavor simple, but there is room to have fun. Use clear vanilla if you want the pink frosting to stay bright and the cake to look more classic. If you want a twist, add raisins for a more old-fashioned feel, or serve the cake with fresh strawberries on the side for a fruity touch. You can also sprinkle a little extra salt on top of the frosting if you like sweet-salty desserts.
Presentation tips
For a pretty finish, spread the frosting with an offset spatula and add sprinkles while the buttercream is still soft. Chill the cake before cutting so the slices look neat and the frosting holds its shape. If you are serving at a party, cut the cake into small rectangles and arrange them on a colorful platter. That simple move makes the dessert feel extra festive.
Make-ahead options
You can bake the cake layer a day ahead, let it cool, then wrap it tightly once it reaches room temperature. The buttercream can also be made ahead and stored in the fridge. Let it soften at room temperature and whip it again before spreading. This is a helpful plan for busy parents, party hosts, and anyone who likes to prep early.
How to Store Cortadillo: Best Practices
Refrigeration: Store frosted Cortadillo in an airtight container in the refrigerator for up to 4 days. The buttercream stays firmer when chilled, which is nice for clean slices.
Freezing: You can freeze unfrosted cake squares for up to 2 months. Wrap them tightly in plastic wrap, then place them in a freezer bag or container. If you freeze the frosted cake, freeze slices on a tray first, then wrap them once firm.
Reheating: This cake is best served at cool room temperature, so you usually do not need to reheat it. If it has been chilled, let slices sit out for 20 to 30 minutes before serving for the softest texture.
Meal prep considerations: For batch baking, cut the cake into portions after chilling, then layer parchment between pieces in a storage container. That makes it easy to grab a square for lunchboxes, coffee breaks, or dessert later in the week.
FAQs: Frequently Asked Questions About Cortadillo
Print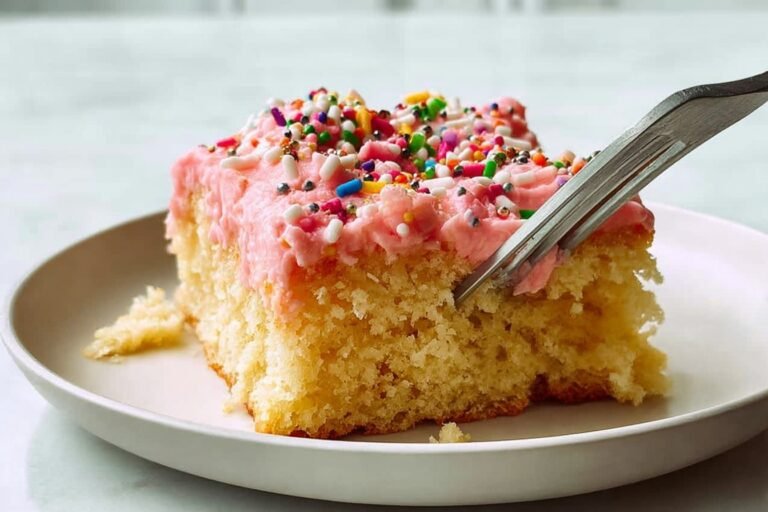
Cortadillo
🎂 Fluffy, moist vanilla cake blanketed in vibrant pink buttercream frosting – a festive Mexican treat bursting with sweetness!
🌸 Easy to bake and decorate, perfect for celebrations, birthdays, or quinceañeras – bring tradition to your table!
- Total Time: 1 hour 30 minutes
- Yield: 12-16 servings
Ingredients
Instructions
1-First Step: Mix the dry ingredients In a medium bowl, whisk together the flour, baking powder, and salt. This helps the leavening spread evenly through the batter, which gives the cake a lighter texture. Set the bowl aside while you work on the wet ingredients.
2-Second Step: Cream the butter and sugar In a large mixing bowl, beat the 3/4 cup room-temperature butter with the granulated sugar until the mixture looks light and fluffy. This step usually takes about 2 to 3 minutes with a hand mixer or stand mixer. Good creaming adds air, which helps the cake bake up soft and tender.
3-Third Step: Add the eggs and vanilla Beat in the vanilla extract, then add the eggs one at a time. Mix well after each egg so the batter stays smooth. If the mixture looks slightly curdled for a moment, do not worry. It usually comes back together once the dry ingredients and buttermilk are added.
4-Fourth Step: Finish the batter Add the flour mixture and buttermilk to the bowl in alternating additions, beginning and ending with the dry ingredients. This method keeps the batter silky and helps avoid overmixing. Stir just until you no longer see streaks of flour, since too much mixing can make the cake dense.
5-Fifth Step: Bake the cake Pour the batter into the prepared pan and smooth the top with a spatula. Bake for 25 to 30 minutes, or until the top is golden and a toothpick inserted in the center comes out clean. In most ovens, the cake is done when it springs back lightly when touched in the middle.
6-Sixth Step: Cool completely Set the pan on a wire rack and let the cake cool all the way before frosting. This part matters. If the cake is warm, the buttercream will melt and slide around instead of sitting neatly on top. A fully cooled cake also makes for cleaner slices.
7-Seventh Step: Make the buttercream In a clean bowl, cream the 1 cup of butter with the vanilla and kosher salt until smooth. Gradually add the sifted powdered sugar, mixing on low at first so it does not fly everywhere. Once the sugar is mostly incorporated, pour in the heavy cream and beat until the frosting looks fluffy and spreadable.
8-Eighth Step: Tint and frost Add the neon pink food coloring a little at a time until you reach the shade you want. The recipe works well with about 20 drops of liquid coloring, but you can adjust it or use a few drops of gel color for a stronger pink. Spread the buttercream over the cooled cake in an even layer, then finish with sprinkles for that classic cortadillo look.
9-Ninth Step: Chill and slice Place the frosted cake in the refrigerator for 30 to 45 minutes. Chilling firms up the buttercream and gives the flavors a little time to settle. Once set, cut the cake into squares or rectangles and serve.
Last Step:
Please leave a rating and comment letting us know how you liked this recipe! This helps our business to thrive and continue providing free, high-quality recipes for you.Notes
🎨 Use clear vanilla extract for the whitest cake base and brightest pink frosting.
💧 Start with 20 drops of neon pink liquid food coloring, adjusting for vibrant hue without bitterness.
❄️ Chill frosted cake 30-45 minutes for firmer buttercream that’s easier to slice.
- Prep Time: 20 minutes
- Chill: 30-45 minutes
- Cook Time: 25-30 minutes
- Category: Dessert
- Method: Baking
- Cuisine: Mexican
- Diet: Vegetarian
Nutrition
- Serving Size: 1 slice
- Calories: 450 calories
- Sugar: 40g
- Sodium: 250mg
- Fat: 20g
- Saturated Fat: 12g
- Unsaturated Fat: 8g
- Trans Fat: 0g
- Carbohydrates: 65g
- Fiber: 1g
- Protein: 4g
- Cholesterol: 85mg