Ingredients
– 250 grams (8.8 oz) cookies (crushed) for the base of the crunchy crust.
– 1/2 cup unsalted melted butter for binding the crumbs into a firm layer.
– 1 cup cold heavy cream for adding lightness and creaminess.
– 3 blocks (8 oz each) full-fat cream cheese, softened to room temperature for creating the smooth, rich filling.
– 1 cup powdered sugar for sweetening the mixture evenly.
– 1 cup creamy cookie butter for infusing the signature Biscoff flavor throughout.
– 1/3 cup sour cream at room temperature for adding tang and contributing to creamy texture.
– 2 teaspoons pure vanilla extract for boosting the overall taste with a warm note.
– Pinch of salt for balancing the sweetness.
– 1/2 cup creamy cookie butter for a glossy, flavorful layer on top.
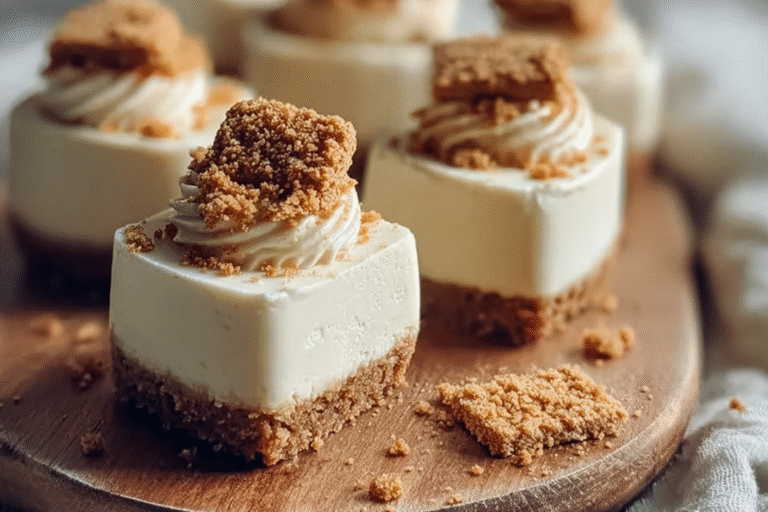
– Additional cookies for garnish (whole or crushed) for adding extra crunch and visual appeal.
– Whipped cream for providing a light, airy finish for serving.
Instructions
1-Crush the cookies finely and mix them with the melted butter to create a sandy mixture that holds together when pressed. This forms the base of your crunchy crust, setting the stage for the creamy layers.
2-Spray your mini cheesecake or muffin pans with non-stick spray, then press about 1 tablespoon of the crust mixture into each slot. Chill or freeze this layer to make it firm before adding the filling.
3-Whip the cold heavy cream in a chilled bowl until stiff peaks form, then set it aside in the fridge to keep it light and airy.
4-In another bowl, beat the softened cream cheese, powdered sugar, cookie butter, sour cream, vanilla extract, and a pinch of salt until everything is smooth and well combined.
5-Gently fold the whipped cream into the cream cheese mixture, making sure there are no streaks for a uniform texture.
6-Pipe or spoon the filling onto the chilled crusts, smoothing the tops evenly to get that perfect mini cheesecake shape.
7-Refrigerate the cheesecakes for at least 6 hours or overnight so they set properly and develop their full flavor.
8-Melt the cookie butter and spread it over the tops of the set cheesecakes, then chill for another 15-20 minutes to let it firm up.
9-Finally, garnish with additional cookies and whipped cream right before serving to keep everything fresh and appealing.
Last Step:
Please leave a rating and comment letting us know how you liked this recipe! This helps our business to thrive and continue providing free, high-quality recipes for you.Notes
🥛 Use room temperature cream cheese for a smooth, lump-free filling that combines perfectly with other ingredients
🍪 Crush cookies very finely for the best crust texture that holds together well when pressed into pans
⏰ Make these a day ahead – the extended chilling time develops flavors and ensures the perfect creamy consistency
- Prep Time: 30 minutes
- Chilling Time: 6 hours
- Cook Time: 0 minutes
- Category: Dessert
- Method: No-Bake
- Cuisine: American
- Diet: Vegetarian
Nutrition
- Serving Size: 1 mini cheesecake
- Calories: 224
- Sugar: 10
- Sodium: 180
- Fat: 14
- Saturated Fat: 7
- Unsaturated Fat: 6
- Trans Fat: 0
- Carbohydrates: 15
- Fiber: 0
- Protein: 3
- Cholesterol: 23